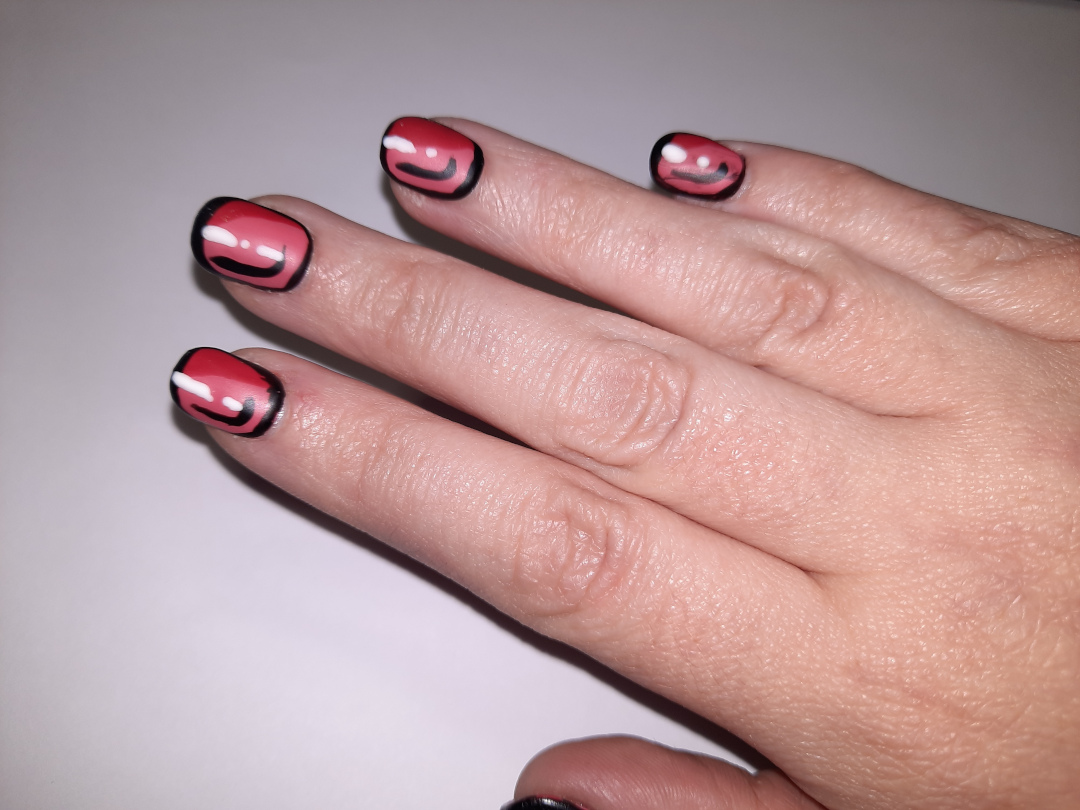
I got to the whole “comic book” nails trend pretty late (let’s face it – by the time something shows up on Instagram, it’s already “over” lol); however, I still think they’re pretty darn neat and I’ve been wearing the style off and on this summer.
Anyway, I’ve been wearing fake nails since 1999, and I paint a fresh set every Monday, but I’ve never recorded myself painting my nails… Until now!
I thought since this style was so fun — and since I’ve gotten a few questions from folks on how I achieved the look — that it would be nice to share my painting process.
Table of Contents
How I Painted Comic Book Nails: Step-by-Step
So you won’t have to pause my hyperlapse video every half second to see what I’m doing, I’ll do it for you:
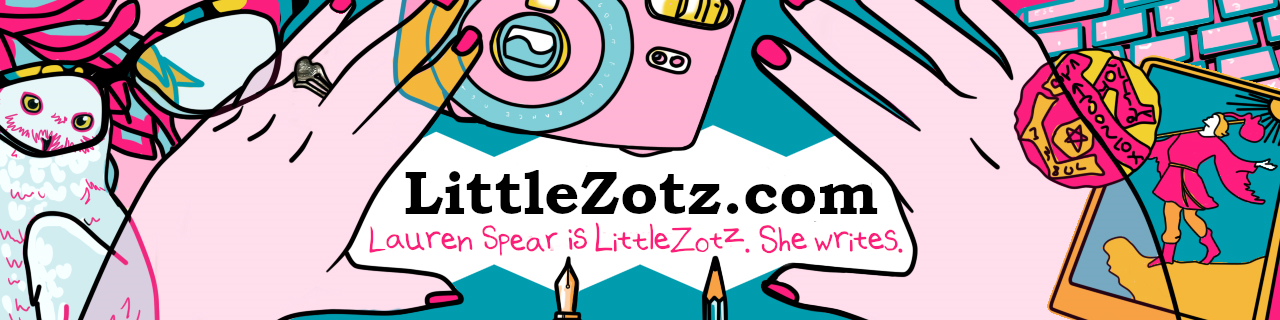
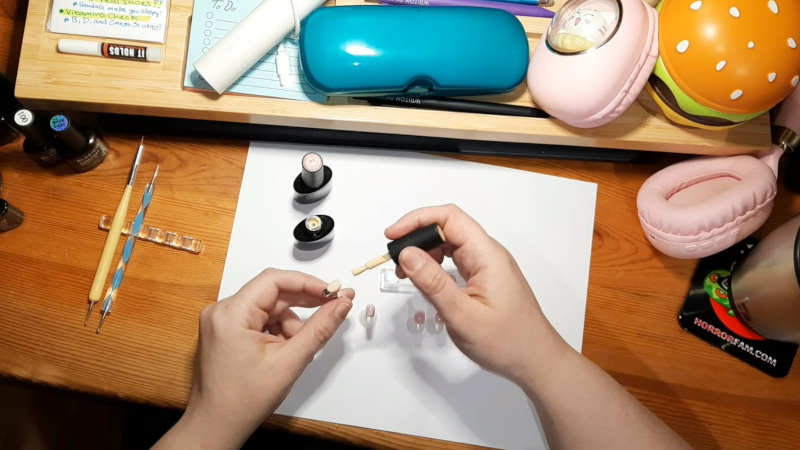
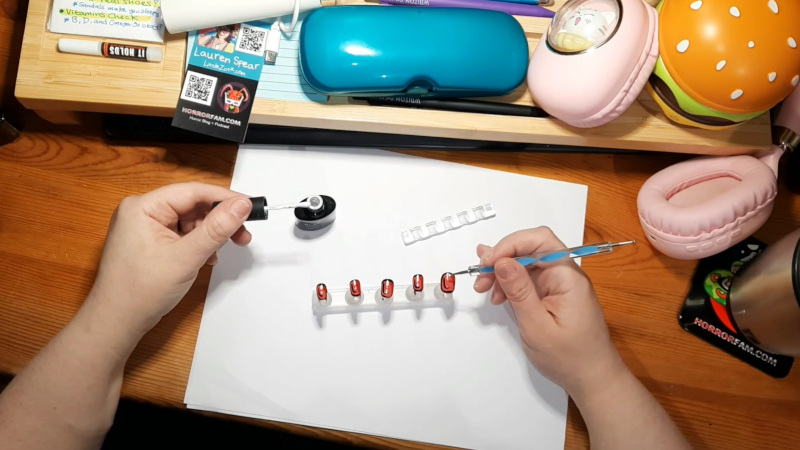
Step One: Find Your Size
The first thing you have to do when wearing fake nails is to find the right size for each your fingers.
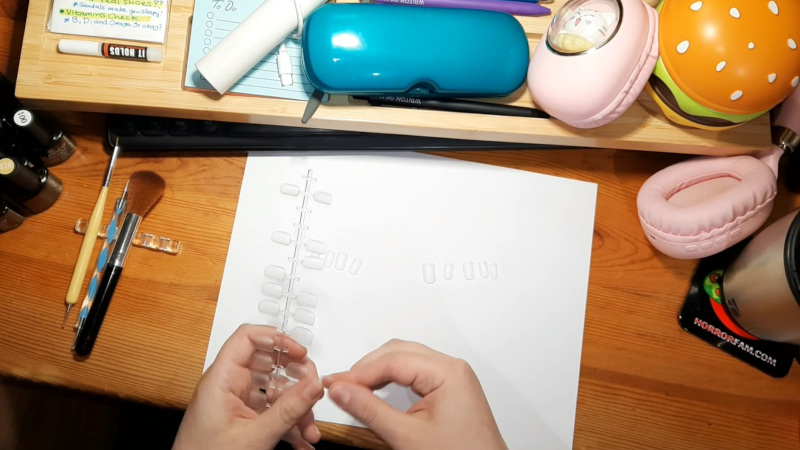
Step Two: Trim & File

I wear nails of varying lengths on my right hand depending on my mood and the look I’m going for; however, I’ve been trimming the nails for my left hand SUPER short because I’ve been playing ukulele since October 2022 and I need to be able to press down on the frets!
Note: If you’re using gel nail polish and your fake nails aren’t pre-buffed like mine were, you’ll also need to buff/file them before applying your basecoat.
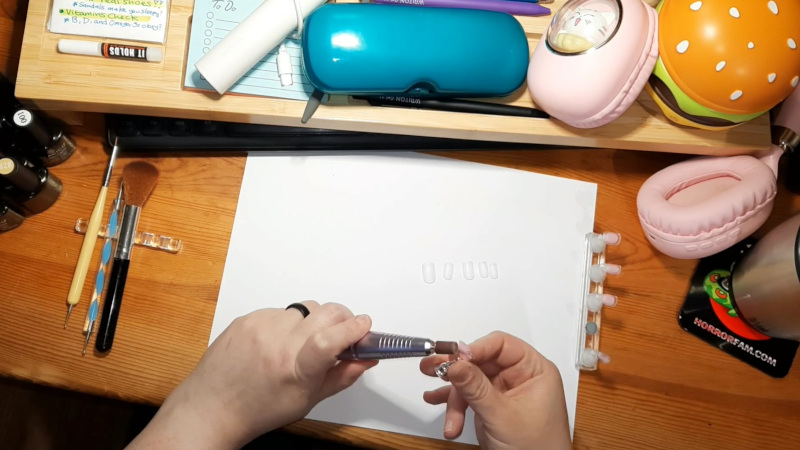
Step Three: Apply Your Basecoat
Step Four: Cure Your Coats (This is Also the Step In-Between Every Step from Here On)
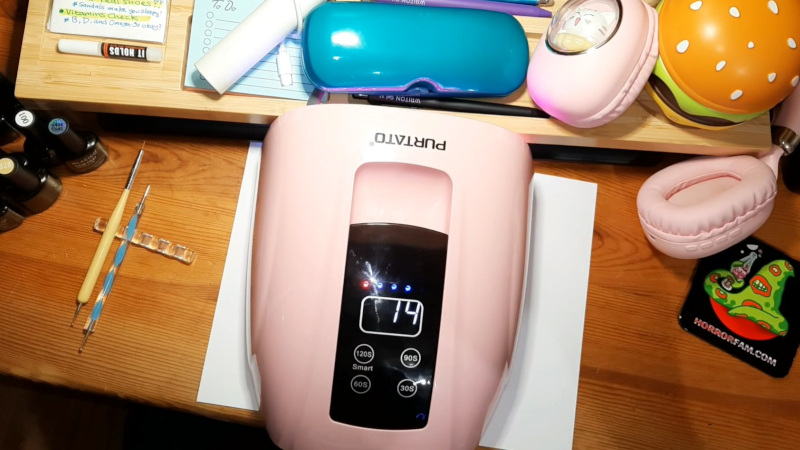
The process of curing the nails/polish under a UV lamp is one of the many reasons I use fake nails. Due to my extremely high genetic risks for cancer, I don’t want to put my actual skin underneath the UV rays (and I highly recommend you don’t either, if you can help it!). With the fake nails, I can zap them with my nail lamp while maintaining my own safety.
Anyway, curing times will vary depending on what type of polish you’re using, but the lamp gets utilized a LOT with gel polishes. It’s basically base coat, cure, polish, cure, polish again, cure, details, cure, top coat, cure…
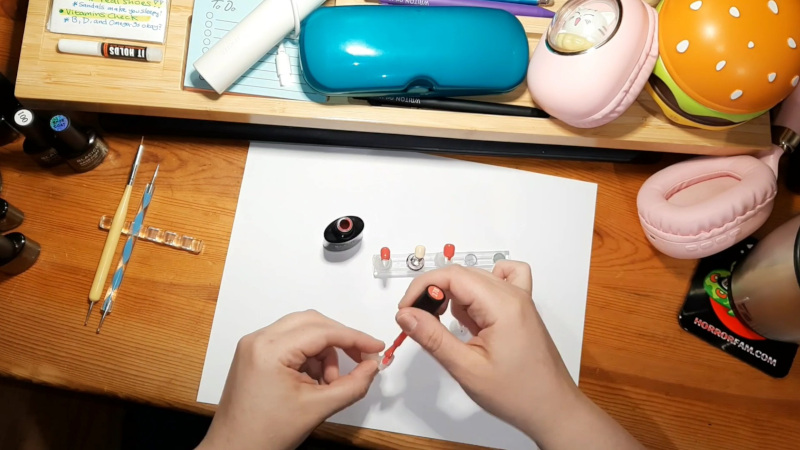
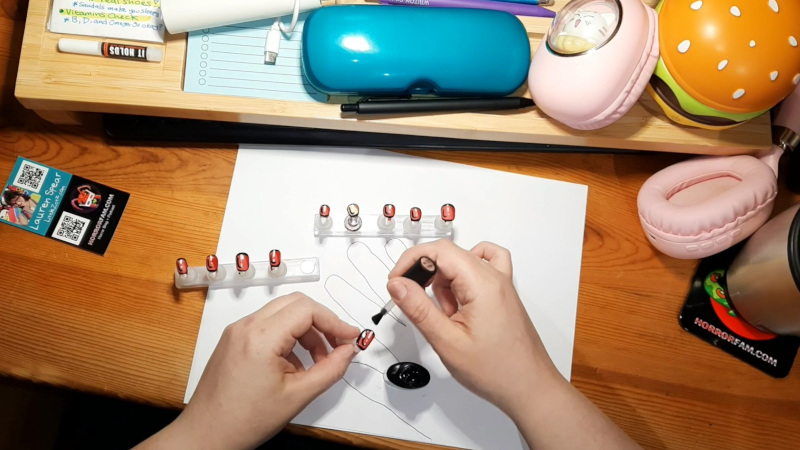
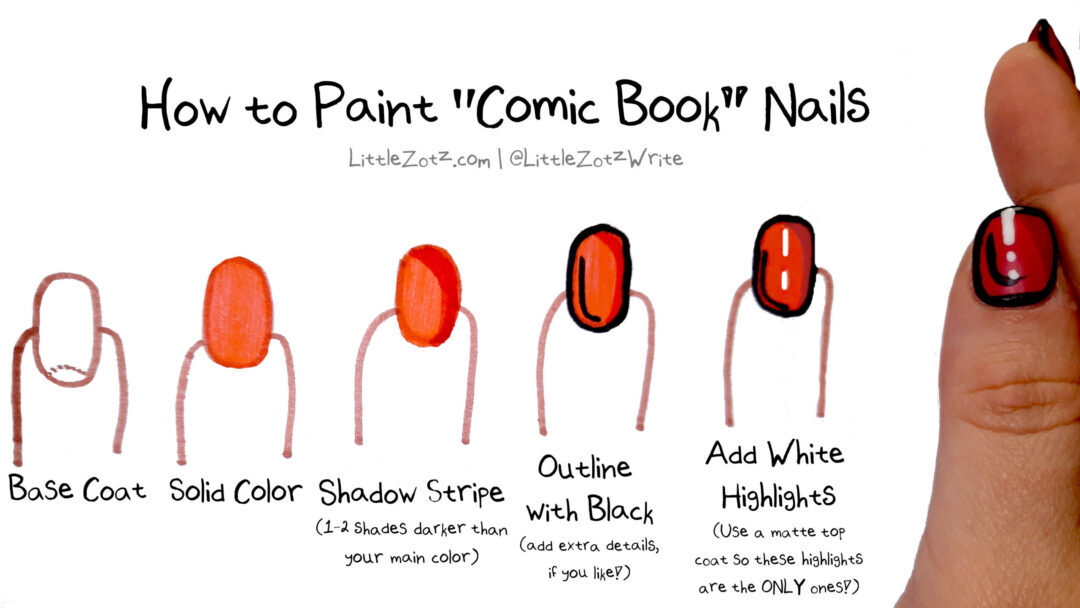
Step Five: Accent Nail Color
I can’t always wear my wedding ring, but I still want my wedding ring finger to look significant, so I paint it a different color from the others. In this case, my other nails were red and my accent nail was yellow.
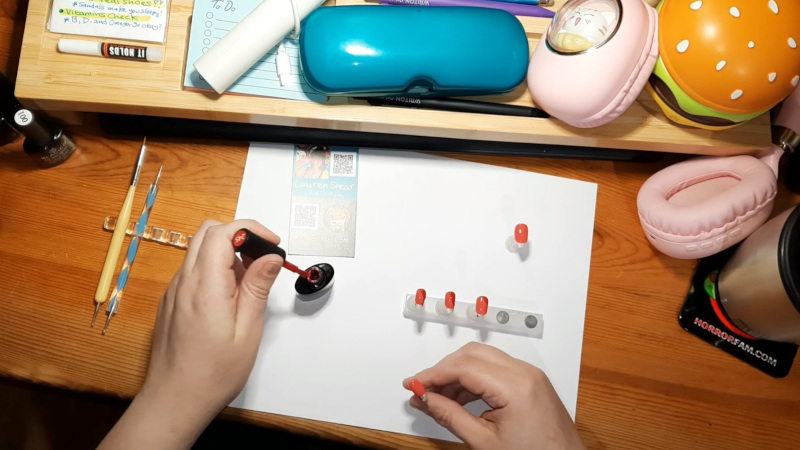
Step Six: Main Nail Color
I painted the other nails light red.
Step Seven: Paint a Stripe in a Darker Shade
Now, take a polish that’s 1-2 shades darker than your initial polish and make a stripe along the side. In this case, I used a dark red over my light red and a goldenrod over my pale yellow.
Note: If you don’t have a wide variety of colors, you can choose a color you like and add white to it to create your lighter first color and then use the color again “as is” for the darker stripe!
Step Eight: Outline with Black

Outline each of the nails in black. And you can add some extra detail lines at this stage too.
Step Nine: Add White Highlights
Shine a light onto your nail from above, look down at the nail, and put a line of white polish where you’re seeing a reflection of the light. I used a metal “dotter” tool just because it’s easier to clean up than a skinny paintbrush, but you can use whatever you like!
Step Ten: Matte Topcoat
Most nail polish (and gel polish especially!) is very shiny. So, in order for your white highlights to be the ONLY highlights — to really recreate that 2D “comic book” illusion — you’ll need to apply a matte topcoat.
Then, just glue them onto your fingertips with nail glue/super glue…
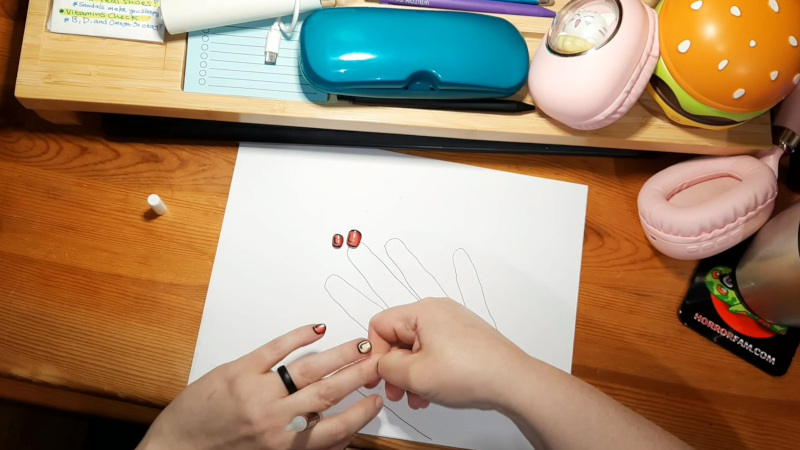
…and you’re done!

Behind the Scenes: The Making of My Nails Video
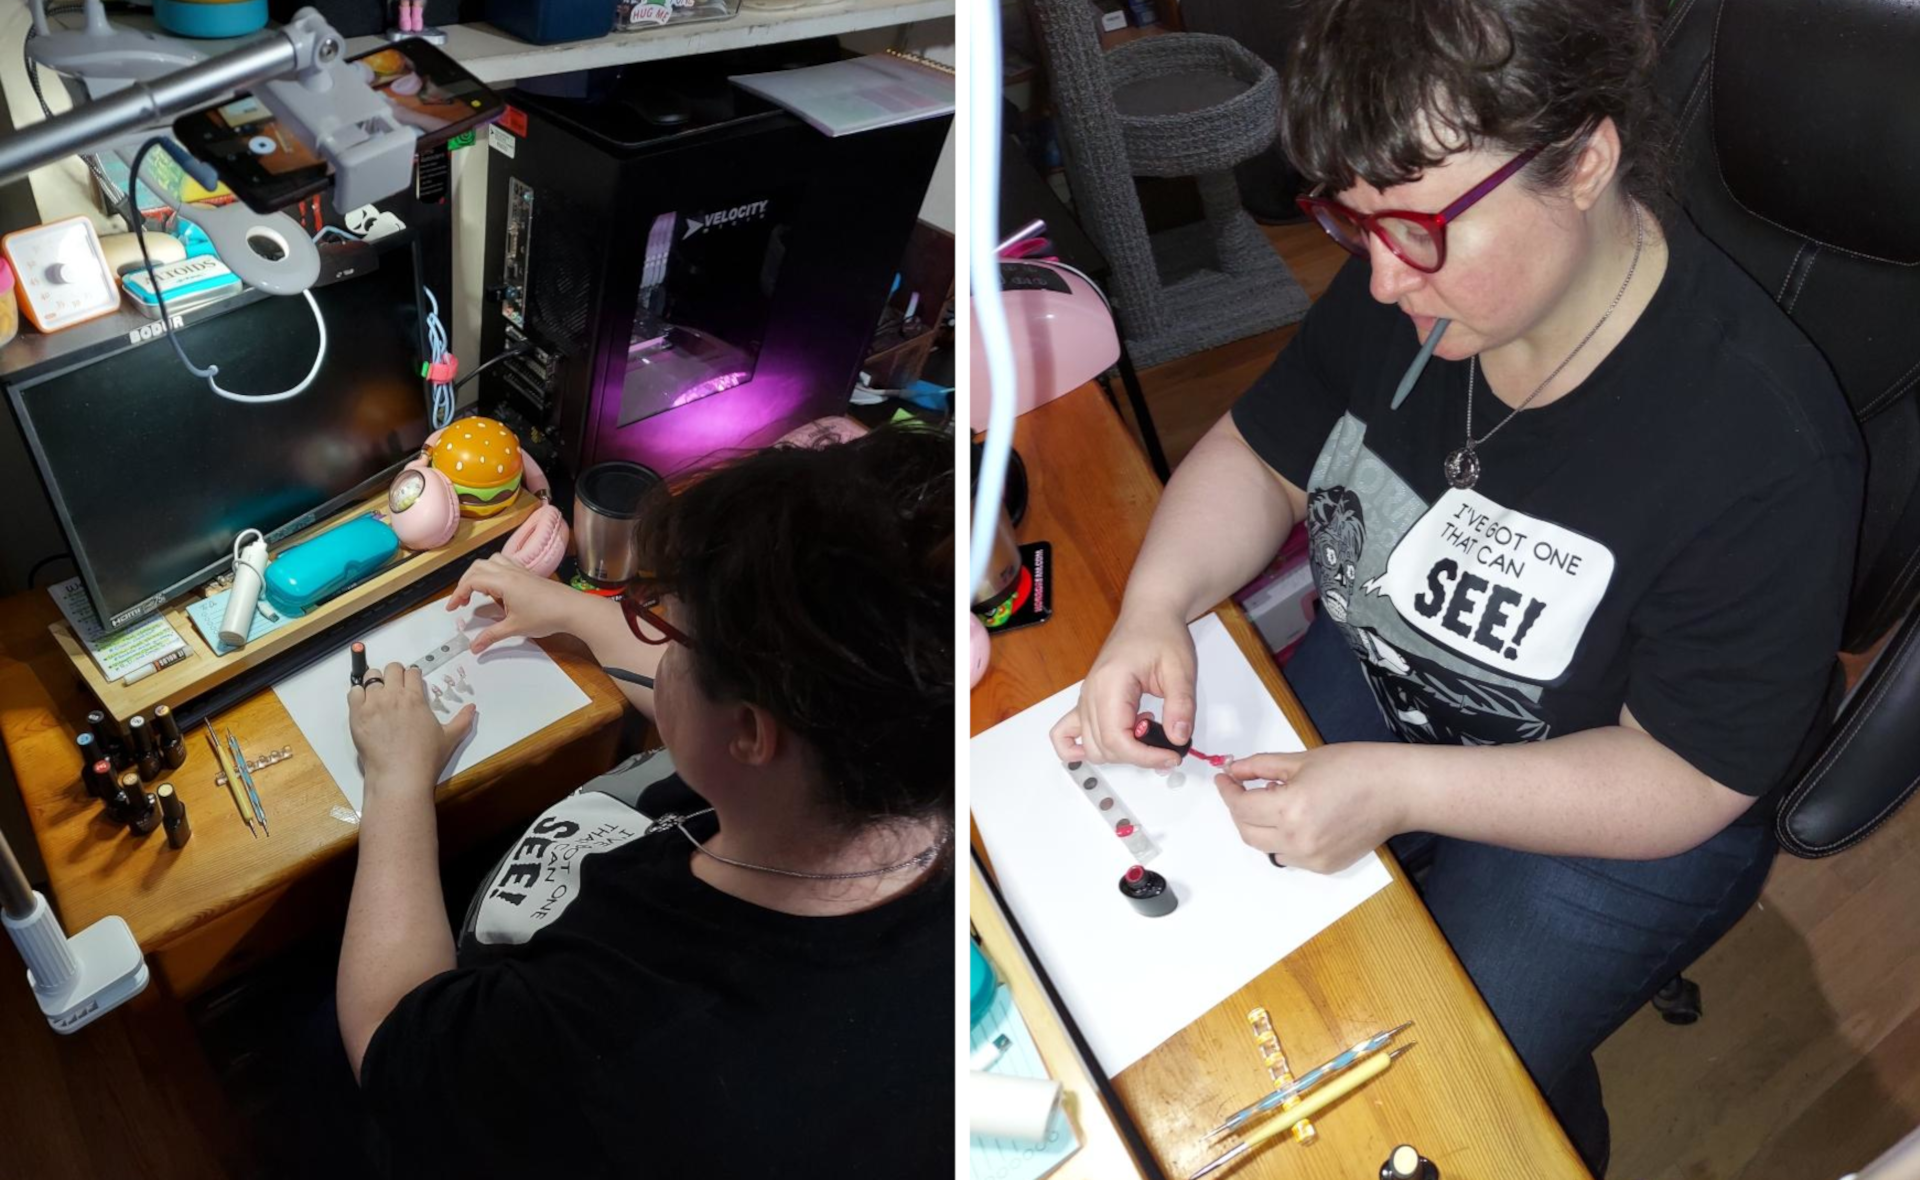
My husband, Frank, took the photos above of me recording my hands while painting the nails. He also filmed the video below of me explaining how I did the stop-motion animation segment towards the end of my video. Thanks, Frank! ♥
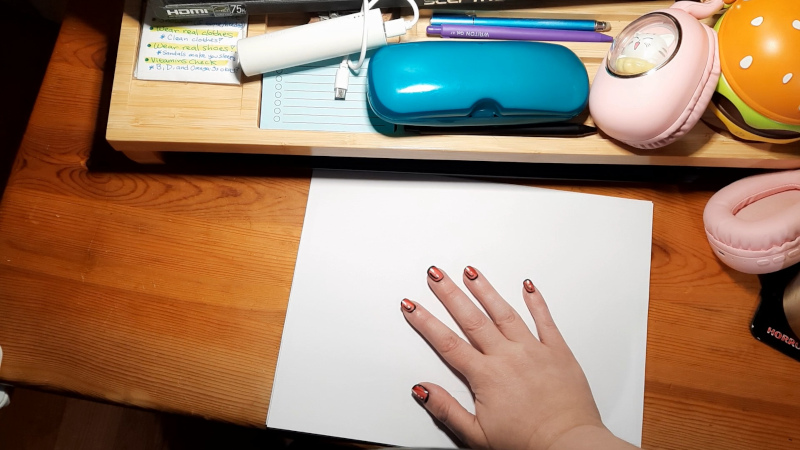
For the “Take On Me” turning-into-a-comic part of the video, I just took a photo of my hand…
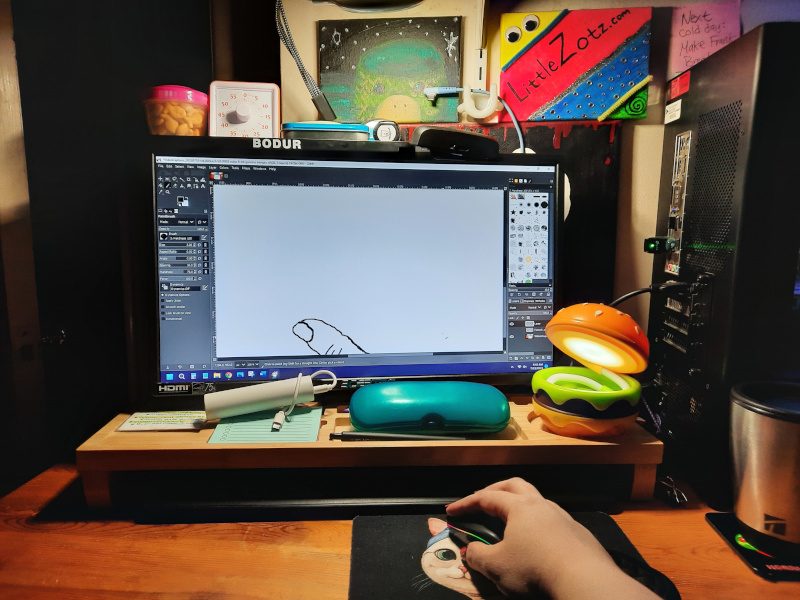
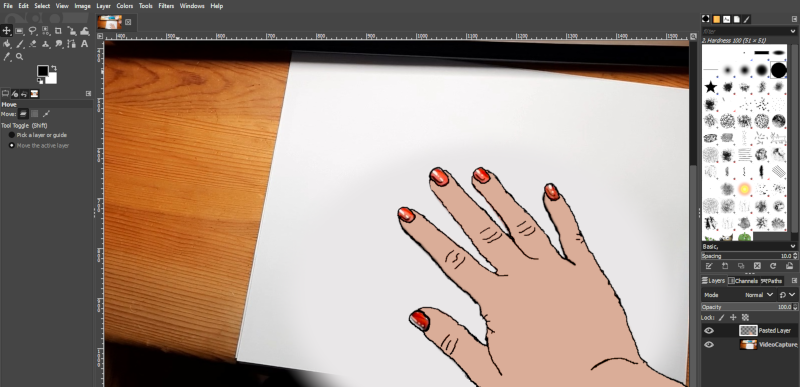
…put it into GIMP (a free Photoshop-like program) and traced it with black using my mouse…
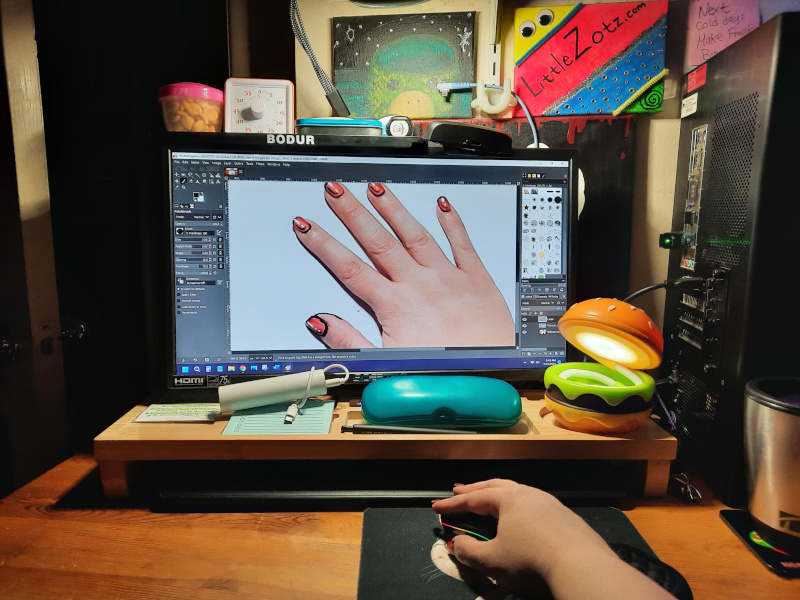
…got rid of the photo layer so the black outline hand was the ONLY hand (seen here at an in-between stage where I’d only traced my thumb)…
…then I used the “bucket fill” to make the cartoon hand my skin tone…
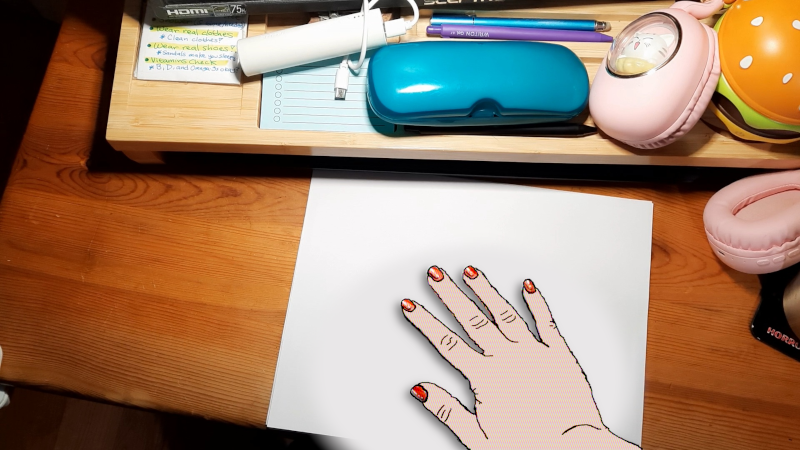
…and then I used a filter to give it a more “comic book” look (and it helped to hide any mistakes)…
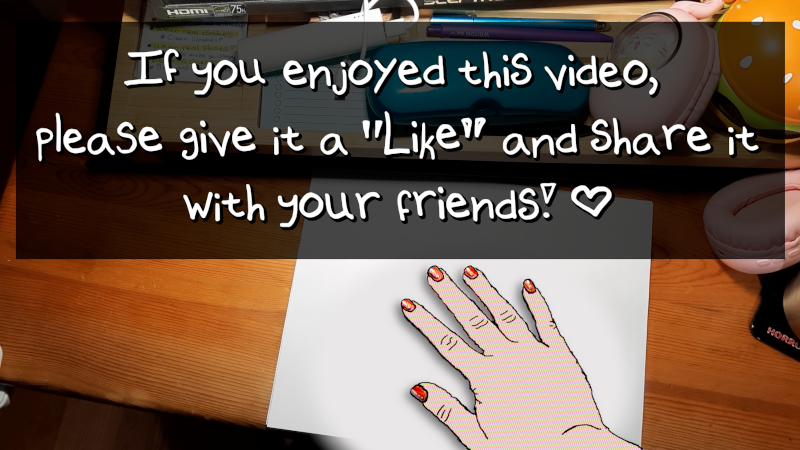
…and then I added a little note asking people to “Like & Share” my video (did you??).
From there, I just added the cartoon hand into my video right after my real hand. Originally I tried using a bunch of transition effects to make it really crazy (smoke, fire, lightning, whatever) but ultimately realized that just the abrupt snap from real to ‘toon was best as is.
I Hope You Were Entertained!
Thanks for watching/reading! I hope you were entertained. If you end up doing your nails in the “comic book” style and my tutorial was helpful for you, let me know.
All of my videos and blog posts, no matter what they are, take a lot of time and effort to make. If you enjoyed this, please share it with your friends!
0 comments